Sous-vide cooking is a lot of fun. Food is vacuum sealed and cooked for many hours in a water bath at a specific temperature, usually something like 140°F, far below boiling. Meat becomes really juicy, eggs become creamy, and you can do all sorts of fun precision cooking. However, cookers on Amazon cost $100–200, which if you ask me, is a scam. I've also seen instructions online for Arduino-based cookers that use a relay to control a crock pot, but even those often cost something like $40 plus the cost of a crock pot, and my housemate Adam and I were not about to ruin our co-op's only crock pot for some crazy cooking project.
With no cheaper system than a crock pot, I was ready to give up. That is, until I stumbled upon what is now my second-favorite item for sale on Amazon.
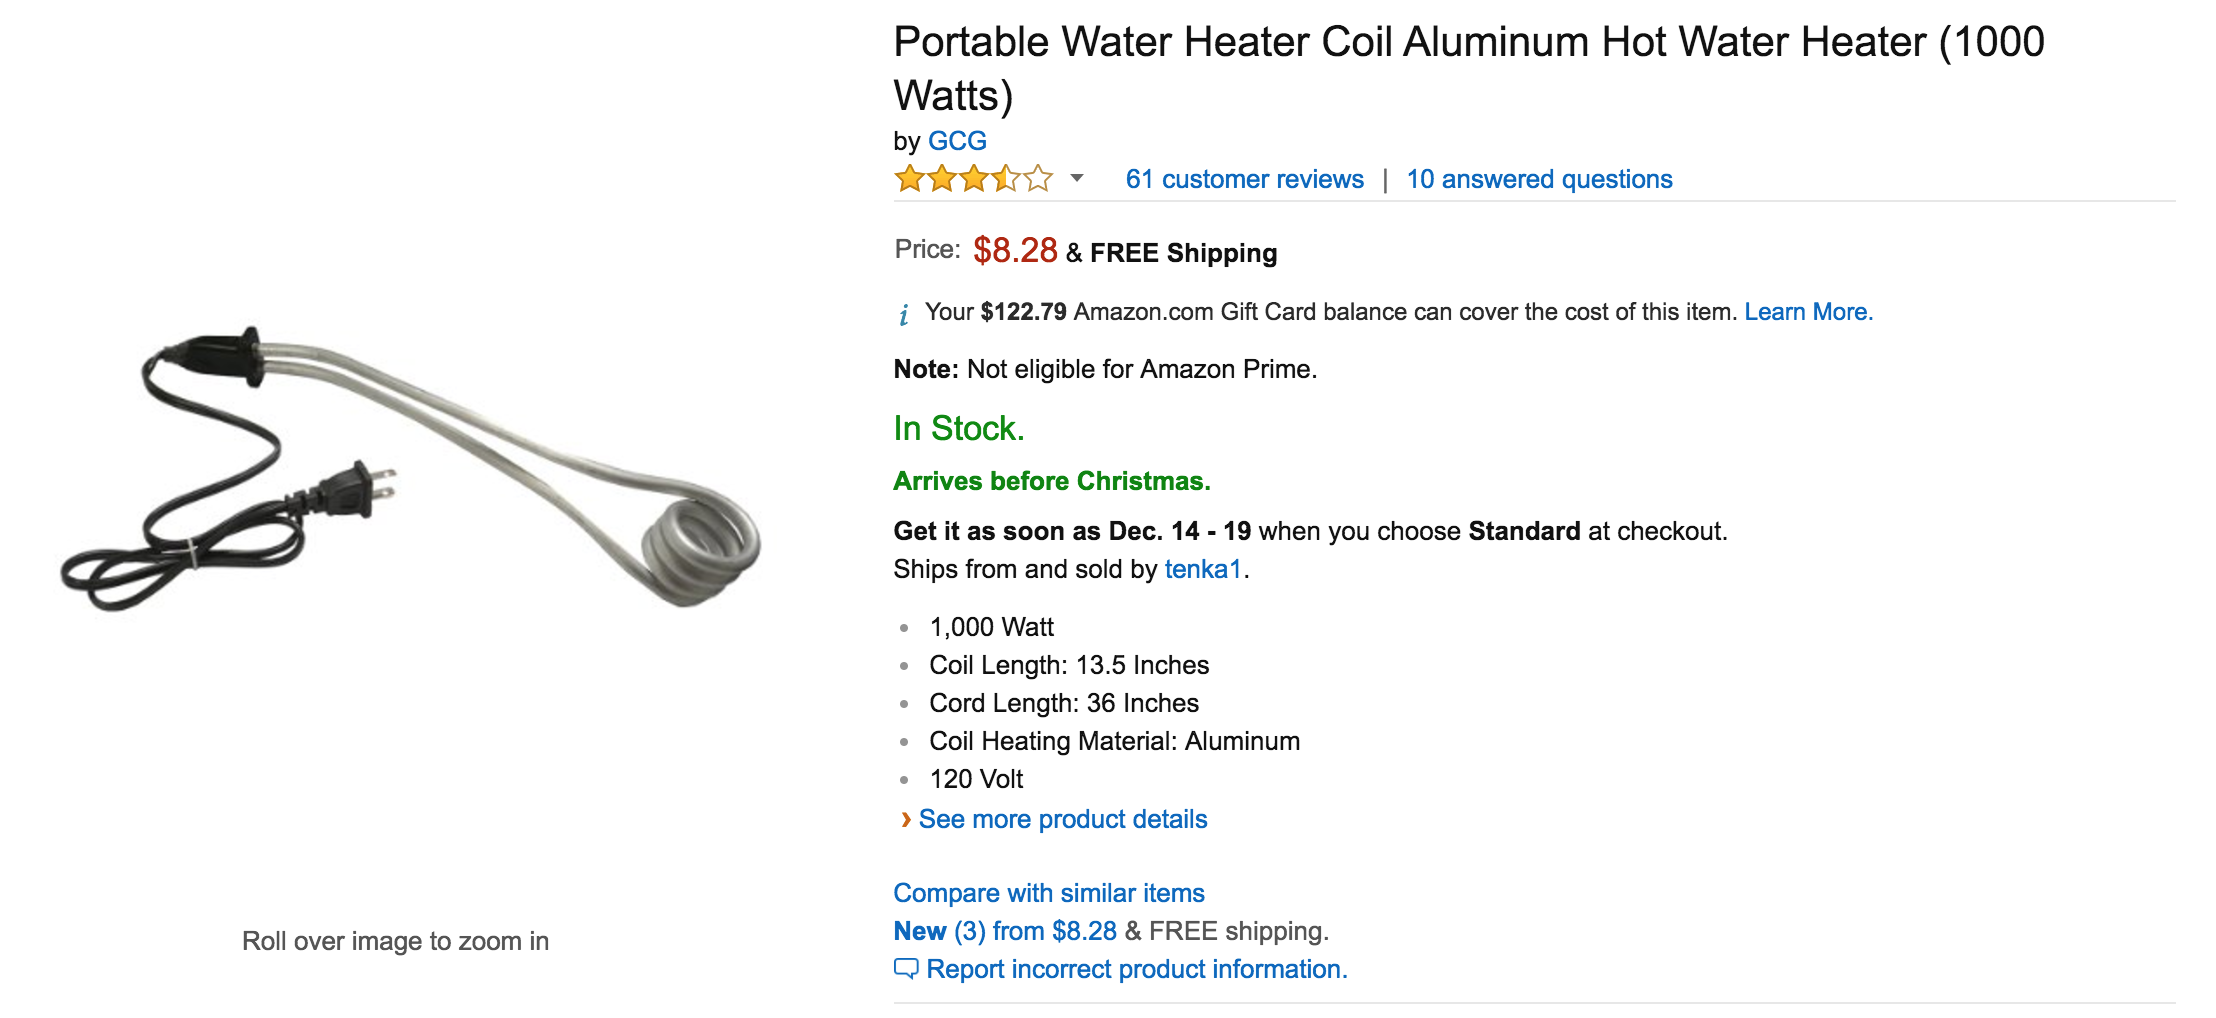
That's right. If we just sacrifice $8 (plus any concerns we may have about so-called "food safety" and "shock hazards") we can pump 1000 watts of heat into a old plastic bucket filled with water, more than enough to boil it. Add in a cheap Arduino, a relay, and a $2 one-wire digital temperature sensor, and we've got ourselves a sous-vide machine fit for a king!
(This is a pretty simple, fun, and rewarding project! However, it does use 120V wall power, and I am not to blame if you electrocute or poison yourself.)
The Setup
These are the parts we used:
- 1000W bucket heater
- DS18B20 waterproof temperature sensor
- a 4.7k resister, required by the temperature sensor
- an Arduino
- a relay board — we used a multi-channel one since we also control a bread proofing box with this same setup, but you could use any old cheap relay board.
- old 3-prong wall plug, any unused wire will do
- a used plastic bucket found in the dumpster behind the dining hall
You can see our electronics setup here (the bucket and the heater are on the shelf below):
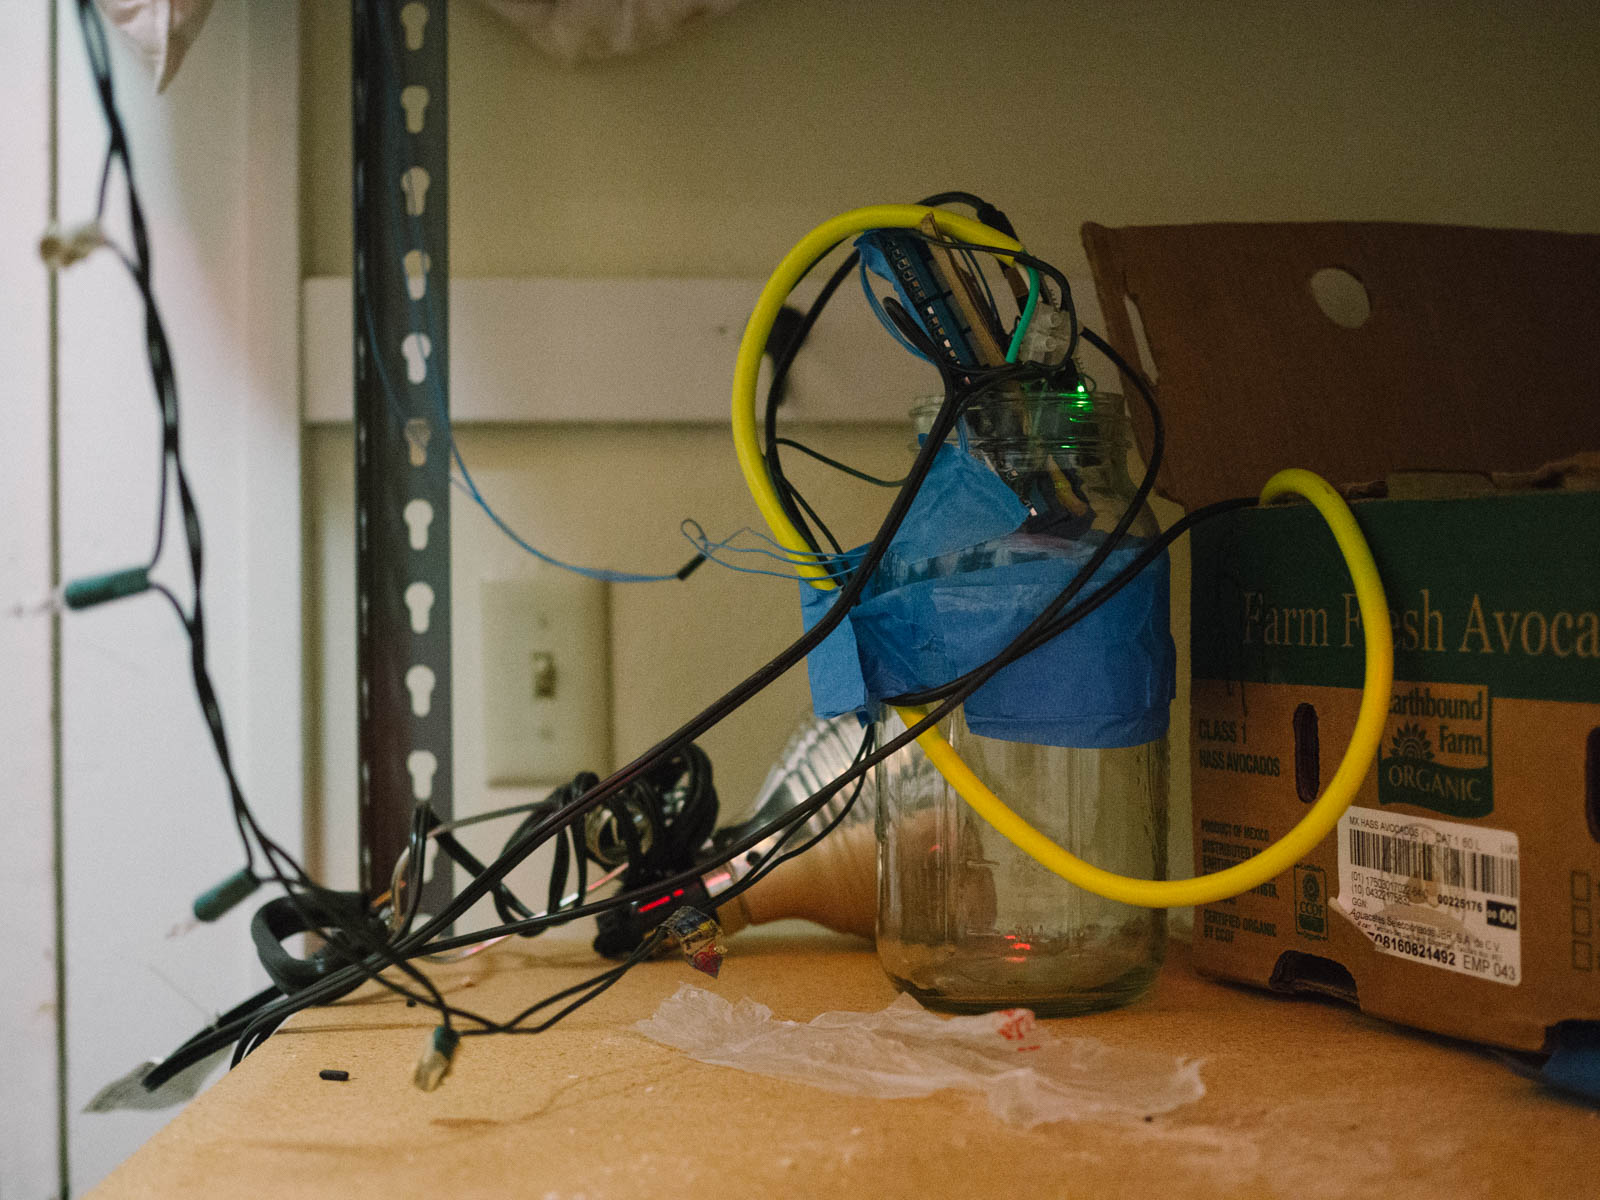
As you can see, we take clean and efficient wiring very seriously. Anyways, we just stuck the resistor between the power and data lines of the temperature sensor, plugged the power, ground, and data into the 5V, ground, and some random input pin (ONE_WIRE_BUS in our code) in our Arduino. We also cut and strip the ends of both the old 3-prong wire and the bucket heater, so we had a bucket heater with no plug, and a wall plug that just led to exposed wires. One of the wall plug's wires connected to one of the bucket heater's wires, and the other pair went through the relay, so the relay controls power to the heater. Finally, we connect the relay control to some random output pin of the Arduino, HEATER_PIN in our code.
The Code
This is pretty doable, even if you've never written much Arduino code before. We start by including and initializing the OneWire and DallasTemperature libraries, which need to be installed on your computer from the install library menu option in the Arduino software.
#include <OneWire.h>
#include <DallasTemperature.h>
#define ONE_WIRE_BUS 3
OneWire oneWire(ONE_WIRE_BUS);
DallasTemperature tempSensor(&oneWire);
int HEATER_PIN = 6;
Next, in our setup function, we start a serial line used for debugging, start the temperature sensor, set the cooker pin to be in output mode, and turn it off by default.
void setup() {
  Serial.begin(9600);
  tempSensor.begin();
  pinMode(HEATER_PIN, OUTPUT);
  digitalWrite(HEATER_PIN, LOW);
}
Now, we choose the temperature for our cooker. We are too cheap and lazy to make a LED display/temperature dial, so we recompile the code every time we need to change the temperature. This sounds like a hassle, but on the other hand, it feels like I'm hacking into some industrial control system every time I want to cook eggs, so I consider this a positive feature.
// cooker turns on when below low temp
// and turns off when above high temp
// this prevents it flipping back and
// forth too rapidly

// garlic stuff
float cookerLow = 88.0;
float cookerHigh = 88.5;

// best eggs
// float cookerLow = 62.5; // 144.5 F
// float cookerHigh = 62.8; // 145.0 F
// see http://www.seriouseats.com/2013/10/sous-vide-101-all-about-eggs.html
This also means your favorite recipes' temperatures are tracked as C comments in version control. Even so-called "professional" Sous-Vide cookers often don't have Git support, which is just another reason our machine is better.
Finally, every two seconds, we check the temperature, and adjust whether the bucket heater is on accordingly.
void loop() {
  // Wait a few seconds between measurements.
  delay(2000);
  Serial.print("Updating liquid temperature sensor...");
  tempSensor.requestTemperatures();
  int t = tempSensor.getTempCByIndex(0);
  Serial.print(t);
  Serial.print("\n");
  if (t < cookerLow) {
    // depending on how you connected your relay, you may need
    // to swap HIGH and LOW on this pin.
    digitalWrite(HEATER_PIN, HIGH);
  } else if (t > cookerHigh) {
    digitalWrite(HEATER_PIN, LOW);
  }
}
Things to Cook
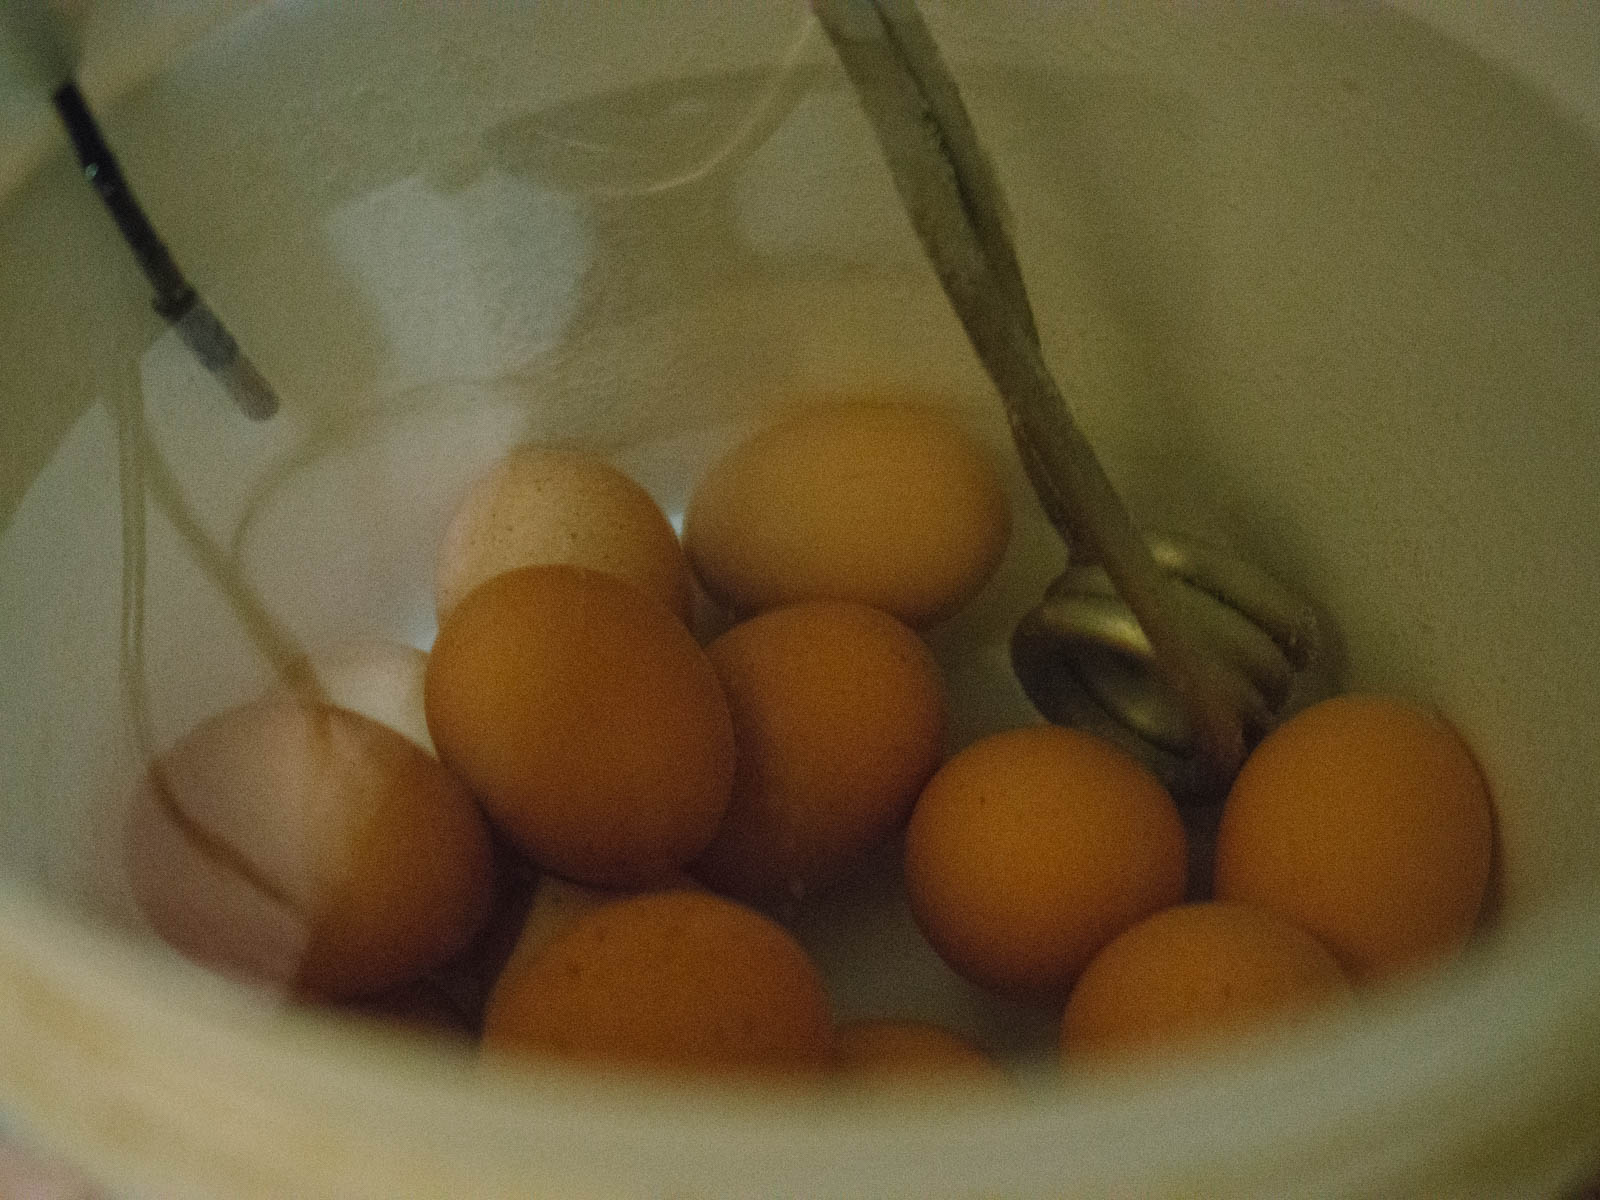
We had a lot of fun cooking eggs. Our favorite was at 145°F for 1.25 hours, since the whites were very, very soft but not fully liquid, and the yolk was the consistency of butter. You can cook many eggs all at once in the bucket, which is convenient for a large house like ours; one night for a big party, we cooked 3 or 4 dozen.
Of course, the main thing that people cook is fish and meat. We also cooked some good garlic confit, although watch out — we ran it overnight, and although the water is not boiling, it steams. The water level dropped below the temperature sensor, which made it activate the bucket heater continuously, which boiled the water away. That's probably a fire hazard or something?
...or for a change of pace, perhaps you'd enjoy my other blog Agoraphobia →